Official Site® | Ledger.com/Start® | Getting# Starting
Congratulations on choosing Ledger to safeguard your cryptocurrency assets! Whether you’re new to the world of cryptocurrency or have been trading for a while, securing your digital assets with a Ledger hardware wallet is one of the best decisions you can make. In this guide, we will take you through the necessary steps to get your Ledger device up and running, ensuring that you start with the highest level of security from day one.
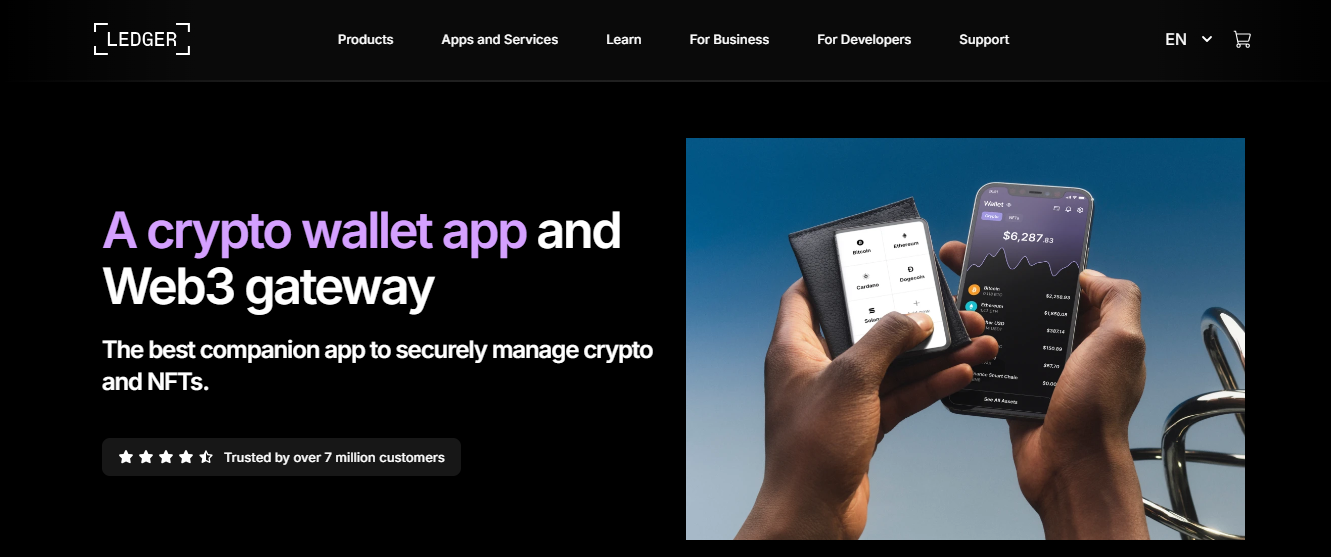
At Ledger, we specialize in providing the most secure hardware wallets that allow you to store and manage your digital assets, such as Bitcoin, Ethereum, and other cryptocurrencies, offline—keeping them safe from online threats and hacks.
Why Choose Ledger?
When it comes to securing your crypto holdings, you want to ensure that your assets are as protected as possible. Ledger’s hardware wallets offer:
- Military-grade Security: Ledger uses the world’s most advanced security chips to protect your private keys, making it virtually impossible for hackers to steal your assets.
- Complete Control: By using a Ledger wallet, you are the sole custodian of your crypto assets. Your private keys never leave your device, and you never rely on third-party services.
- Wide Asset Support: Ledger supports over 5,500 different cryptocurrencies, including Bitcoin, Ethereum, and more, allowing you to manage multiple assets in one place.
The Basics: What is a Ledger Wallet?
A Ledger hardware wallet is a physical device designed to keep your cryptocurrency safe. It stores your private keys offline, ensuring that even if your computer is compromised, your assets remain secure. The two most popular Ledger hardware wallets are:
- Ledger Nano S Plus: A compact and affordable option that provides exceptional security for beginners.
- Ledger Nano X: A more advanced model with Bluetooth support, allowing you to manage your crypto assets on the go from a mobile device.
Both devices offer the same high level of security but differ in features such as storage capacity and Bluetooth functionality.
Now that you know a little about Ledger, let’s get started with setting up your device.
Step 1: Unbox Your Ledger Wallet
The first step to getting started with your Ledger wallet is to unbox it. In the box, you’ll find:
- Your Ledger hardware wallet
- A USB cable for connecting to your computer (or Bluetooth instructions for Nano X)
- A recovery sheet to store your backup phrase
- Instruction manual
It’s important to ensure that the device is sealed and not tampered with. Always buy your Ledger device directly from Ledger.com or an authorized retailer to avoid counterfeit devices.
Step 2: Install Ledger Live
To set up your Ledger wallet, you’ll need the Ledger Live application. Ledger Live is the official software for managing your Ledger wallet and accessing your crypto portfolio.
Download Ledger Live
- Go to Ledger.com/Start.
- Click on the “Download Ledger Live” button.
- Choose your operating system (Windows, macOS, or Linux) and follow the instructions to download the software.
- Once downloaded, run the installer and follow the on-screen prompts to complete the installation.
Ledger Live also has a mobile version for both iOS and Android, so you can manage your crypto wallet on the go.
Step 3: Set Up Your Ledger Device
Now it’s time to set up your Ledger hardware wallet. Whether you are setting up the Ledger Nano S Plus or the Ledger Nano X, the steps are relatively similar.
Connect Your Device
- Plug in your Ledger wallet to your computer via the USB cable. If you’re using the Nano X, you can also connect it via Bluetooth to your mobile device.
- Follow the on-screen instructions on the Ledger device. You’ll be asked to select your language and proceed with the setup.
Choose a PIN Code
One of the first things you’ll do during setup is choose a PIN code. The PIN code is a 4-8 digit code that protects your device from unauthorized access.
- Make sure your PIN is strong: While you can choose any combination of digits, choose a code that’s not easily guessable. It’s a good idea to avoid using common numbers like 1234 or your birth year.
- Keep it private: Only you should know your PIN. Never share it with anyone.
Step 4: Backup Your Recovery Phrase
The next step in the process is crucial for the security of your crypto assets: backing up your recovery phrase. This phrase consists of 24 words that act as a backup to recover your wallet in case your device is lost, stolen, or damaged.
Write Down Your Recovery Phrase
- Your Ledger device will display a unique recovery phrase.
- Use the provided recovery sheet to write down all 24 words in the correct order. This is essential.
- Store it in a safe place: Never store your recovery phrase digitally (e.g., on your computer, online, or in cloud storage). Write it down on paper or use a metal backup solution for extra security.
What Happens if You Lose Your Recovery Phrase?
If you lose your recovery phrase, you risk losing access to your crypto forever. Ledger can’t help you recover your assets without it, so it's critical to store this phrase in a secure place and never share it with anyone.
Step 5: Install Apps for Your Cryptocurrencies
Once your device is set up and backed up, you can install the necessary apps to manage your cryptocurrency assets. Ledger Live allows you to add specific apps for each cryptocurrency you want to manage.
How to Install Apps via Ledger Live
- Open Ledger Live and click on “Manager” in the left-hand menu.
- You’ll see a list of available apps for various cryptocurrencies. Choose the ones you want to manage, such as Bitcoin, Ethereum, or any of the other supported coins.
- Click on “Install” next to each app you want to add to your device. This process will take a few moments.
Once the apps are installed, you’re ready to start managing your crypto assets.
Step 6: Send and Receive Cryptocurrencies
With your Ledger device now fully set up, you can start using it to send and receive cryptocurrencies. Here’s how:
Receive Cryptocurrency
- Open the Ledger Live app on your computer or mobile device.
- Go to the “Receive” tab and select the cryptocurrency you wish to receive (e.g., Bitcoin, Ethereum).
- Your Ledger device will generate a unique receiving address. Copy this address and provide it to the person sending you the cryptocurrency.
Send Cryptocurrency
- To send cryptocurrency, click on the “Send” tab in Ledger Live.
- Select the cryptocurrency you want to send and enter the recipient’s address.
- Enter the amount and confirm the transaction on your Ledger device.
- Ledger will ask you to verify the transaction using your PIN. Once confirmed, the transaction will be processed.
Step 7: Regularly Back Up and Update
While your Ledger wallet provides a high level of security, it’s important to regularly:
- Backup your recovery phrase (again, make sure it’s stored securely).
- Update your Ledger Live software to stay current with new features and security enhancements.
Ledger frequently releases updates to improve the security and performance of your device. Always make sure you’re using the latest version of Ledger Live.
Conclusion: The Future of Secure Crypto Storage
Congratulations! You are now ready to begin managing your cryptocurrencies with the best security available. By using a Ledger hardware wallet, you’ve taken a crucial step toward protecting your assets from online threats. Remember:
- Secure your recovery phrase: This is the key to recovering your crypto if anything happens to your device.
- Keep your PIN private: It ensures no one else can access your Ledger device.
- Stay up to date: Regularly update Ledger Live and your device for the best security features.
If you ever need help or have any questions, our support team is here for you. You can also visit Ledger Help Center for FAQs, troubleshooting guides, and more.
Thank you for choosing Ledger! Enjoy peace of mind knowing that your crypto is safe.
Made in Typedream